Adding a Variable Product to WooCommerce
Variable Products
A variable product as its know in Woocommerce is one with more than one product buying option. For example a shirt can have different sizes or colours or both. Each of these sizes and colour combinations is a product variation which may have its own price, stock level and even shipping options if needs be. All of these are configurable within the WooCommerce e-commerce system.
Product Attributes
Product variations can be created from a combination of some or all of these “attributes“.
So how do we create them and get on with populating your shop with products? There are two ways.
1. The first is to create them on a one off custom basis when adding a product by adding them directly into the “Attributes” tab dialogue on the Product data panel. This is fine for a unique product with unique sizes or colours etc.
2. When you are dealing with common products like clothes for example, it makes sense to add your attributes from a pre-populated list in order to save time and head-space when adding products to your e-commerce website. This is easily done by organising your common sizes and colours in the product attribute tables first. Then you can choose them from a menu dialogue rather than typing them each individually every time you need to when adding a product.
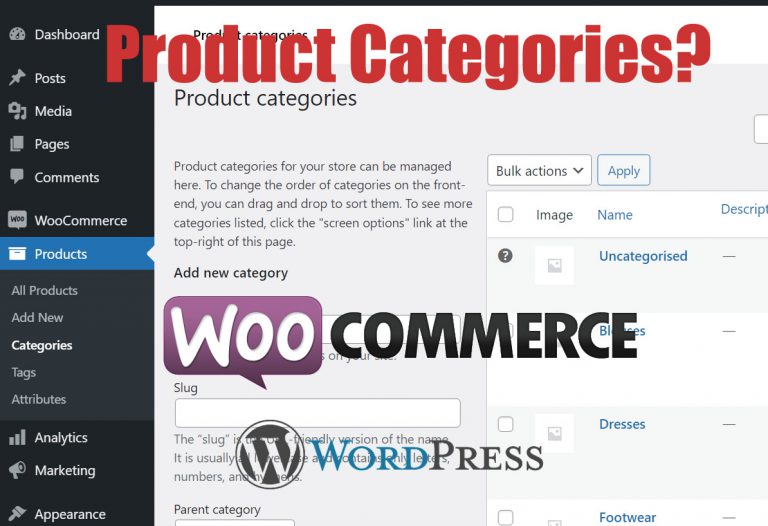
To manage product attributes in admin go to Products > Attributes From here you can create and organise your sizes colours or any other attribute you might need.

It is best to organise your attributes carefully bearing in mind your product line-up before you begin. You should also be careful not to create duplicates during this process as things can get messy later.
1. When adding any new attribute like “Length” as in the example shown its important to note that this text displays on the product page next to the menu where the shopper can make their choice. You generally only need to complete the Name field here, the slug is created automatically. Once you add a product attribute like Length you can then populate that attribute with values in the next step.

2. To add attribute values to your new attribute click on the “Configure terms” link.

3. To add your value complete the field shown. Again the system will generate a slug automatically for you once you click the Add button. When you have finished adding attributes and values here you are ready to add a variable product with its different sizes, colours and lengths and so on.
Adding a variable product to WooCommerce
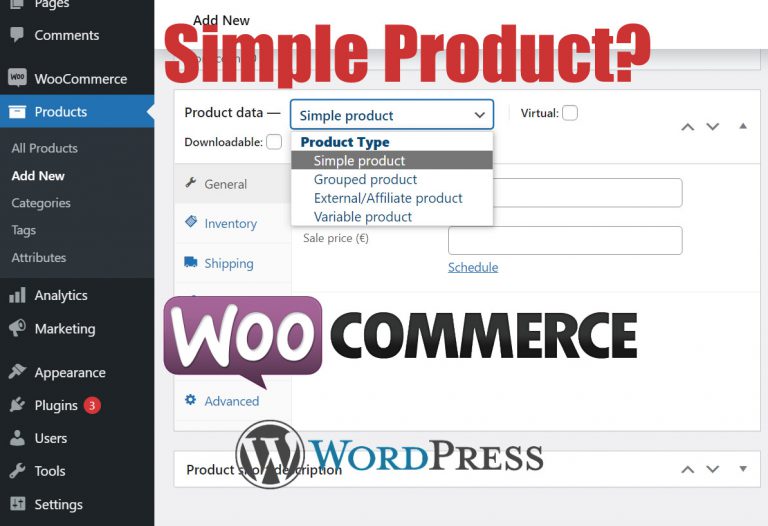
In the admin menu go to Products > Add new From there complete the Product title, Description, product image and category fields as you would when adding a simple product in WooCommerce. Next we turn our attention to the Product data panel further down the page.

- Next to the Product data panel title you will see a drop-down menu which defaults to “Simple product”. Here you should select “Variable product”. This changes the options on the Inventory tab. Complete the remaining fields there as necessary. It also helps to add an SKU (unique stock identifier) at this stage on the Inventory tab.

Adding a Variable product in WooCommerce Product data panel SKU - Complete the fields on the Shipping and Linked product tabs as necessary also.
On the Attributes tab you have two choices. You can add “Custom product attributes manually” by selecting from the drop-down menu and clicking the Add button. Completing the Name field for example “Length” and the “Values” fields for example “1 Metre”|5 Metres using the pipe character near the bottom left on your keyboard to separate the values. Repeat this as necessary adding other product attributes until you are happy you are finished
Make sure to check the “Used for variations” box so you can add different prices later if needed. And make sure to click the “Save attributes” button before moving to the next tab Variations.

Alternately to add the product attributes you created earlier follow these steps.

Click the drop-down menu as shown and select the attribute you want to add. Repeat this until you have all you need, you will add the values in the next step.
Next expand the first attribute tab (eg Length) by clicking on it. Then click the values field and a menu will pop up where you can click to add the necessary values one by one. Make sure to check the “Used for variations” box before moving on. Repeat this process for all other product attributes related to the product like colour etc. Make sure to click the “Save attributes” button before moving on.

3. The Variations tab. It may take a few seconds to load, please be patient. From the drop-down menu I select “Create variations from all attributes” and click the “Go” button. In most cases this is the easiest option. Once you do this a pop-up will appear asking if you want to proceed. Click OK to continue. The e-commerce system will then create your product variations for you and alert you once it complete with another pop-up detailing the number of variations it made.

At this stage you are almost done. it only remains now to add prices per variation together with images, stock levels etc, for each of the variations created during the process as necessary. It may not be necessary to complete all the fields shown its just to show what’s possible in the system.

One final note: What if all the product variations prices are the same? There’s a quick way to add them all at once to save time once you have added your variations in the step above.
Click the “Add variation” drop-down menu then select “Set regular prices” and click “Go” in the resulting pop up add you price. The system will add this price to all your variations automatically. You’re almost done! I promise 🙂

To save product work don’t forget to click the “Publish” button on the top right of the page!
To see how to add a simple product to WooCommerce click here.
Hope this helps. You can see more detail over on the WooCommerce website if you get stuck.