Adding a Simple Product to WooCommerce
Adding a Simple Product to WooCommerce
When you first take charge of your new WooCommerce website it can be a bit daunting for some. It’s not difficult to manage products on a WordPress based WooCommerce website. It can be very easy to pick up, it depends on what you are selling and how complex your product options are.
Here we look at the simplest product type that this e-commerce system caters for which happens to be know as a “Simple Product”
How to Add a Simple Product
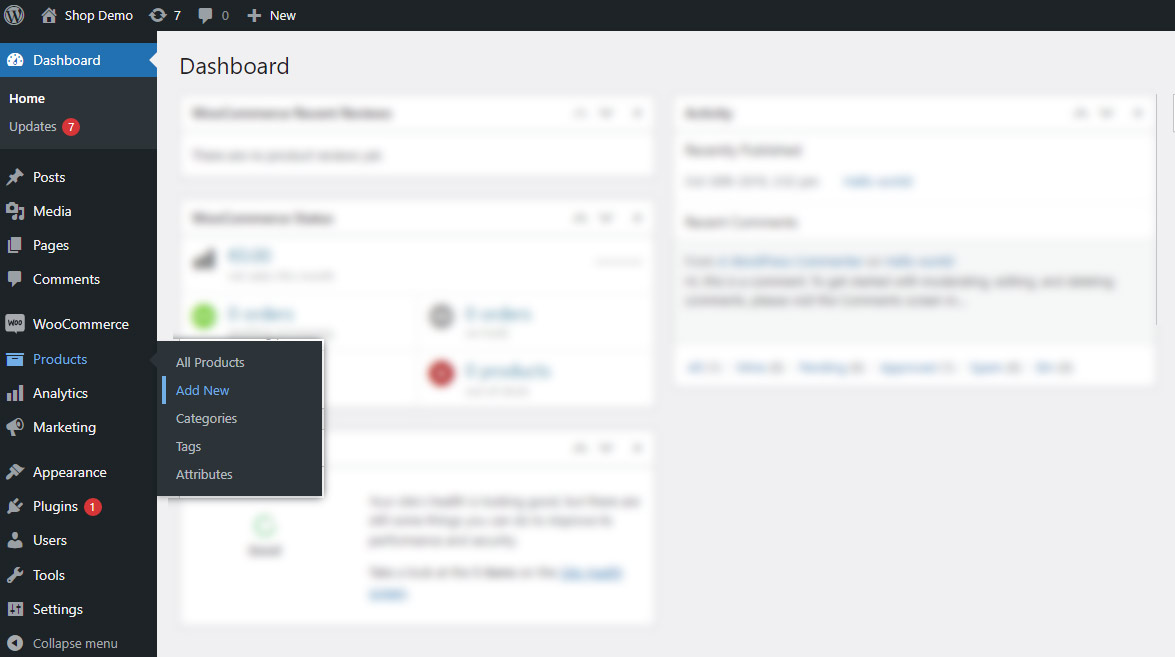
Login to your site admin. Then from the left hand menu navigate to Products > Add New
On the resulting page you can enter the product information including product images and price etc.
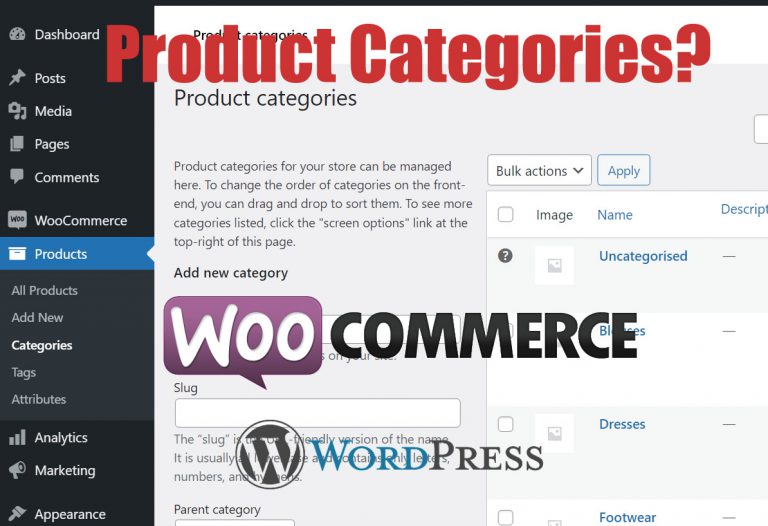
Firstly fill out the Product title and description fields while trying to keep these as search engine friendly as possible. Then on the right hand column upload / add a product image from your computer (always wait for the image thumbnail to appear before saving the entry). You may also add multiple images if you need to by using the gallery option. To associate the product with a product category check one or more of the categories in the Product Categories box on the right hand column.

Product Data Information
Below the product description field you should see a panel called Product data This is where we add more critical product related data like price.
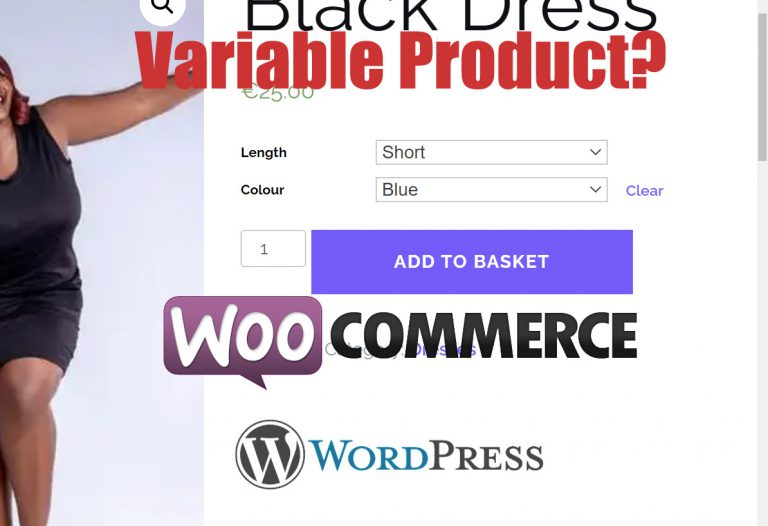
You will notice that the dropdown menu next to the Product data title defaults to Simple product generally one of the most used product types in WooCommerce. This is the type of product this tutorial relates to. The other common type of product is known as a Variable Product. More about that later.
Product Data Tabs
- General. On the left side of the Product data panel there are a number of tabs. The general tab deals with Regular price and Sale price. Enter the price you want in the Regular price field. If you want to show a discounted price enter a lower price in the Sale price field. The will show a discounted price next to the Regular price on the website so that the customer can see its on sale.
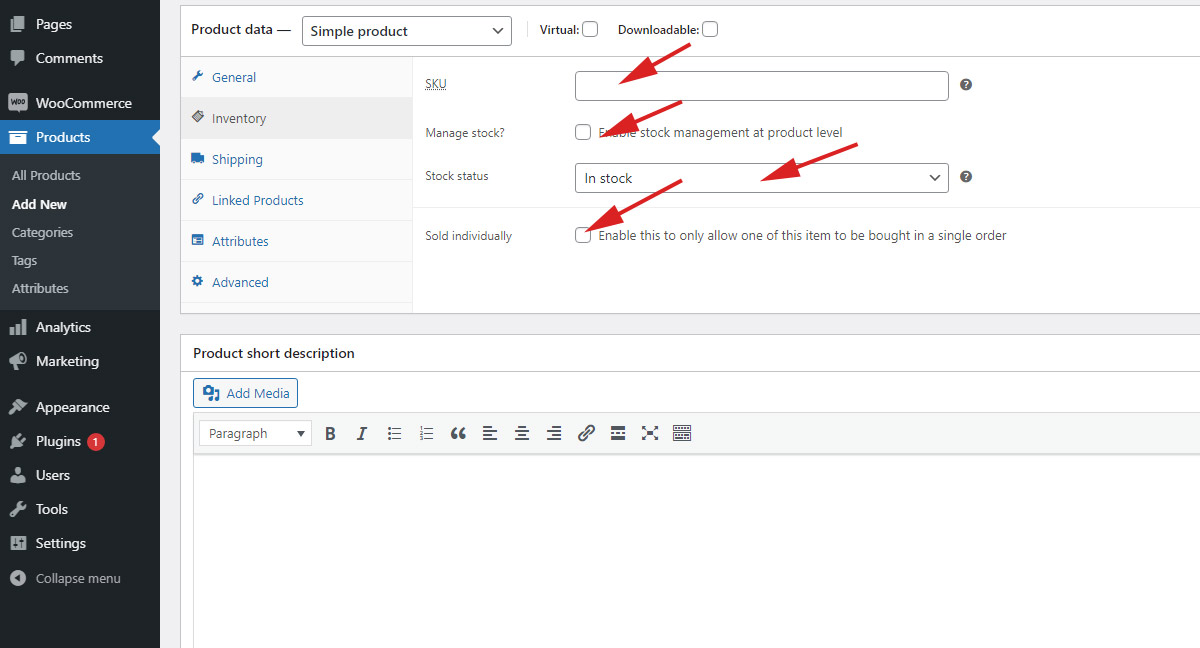
- Inventory On this tab enter a unique SKU or item code. This makes it easier to identify similar products from your inventory when dealing with orders etc. You can choose to manage stock here by checking the box and setting the number of these products you have to sell in the necessary fields. You can also restrict the product to one per order if necessary by checking the Sold individually box.
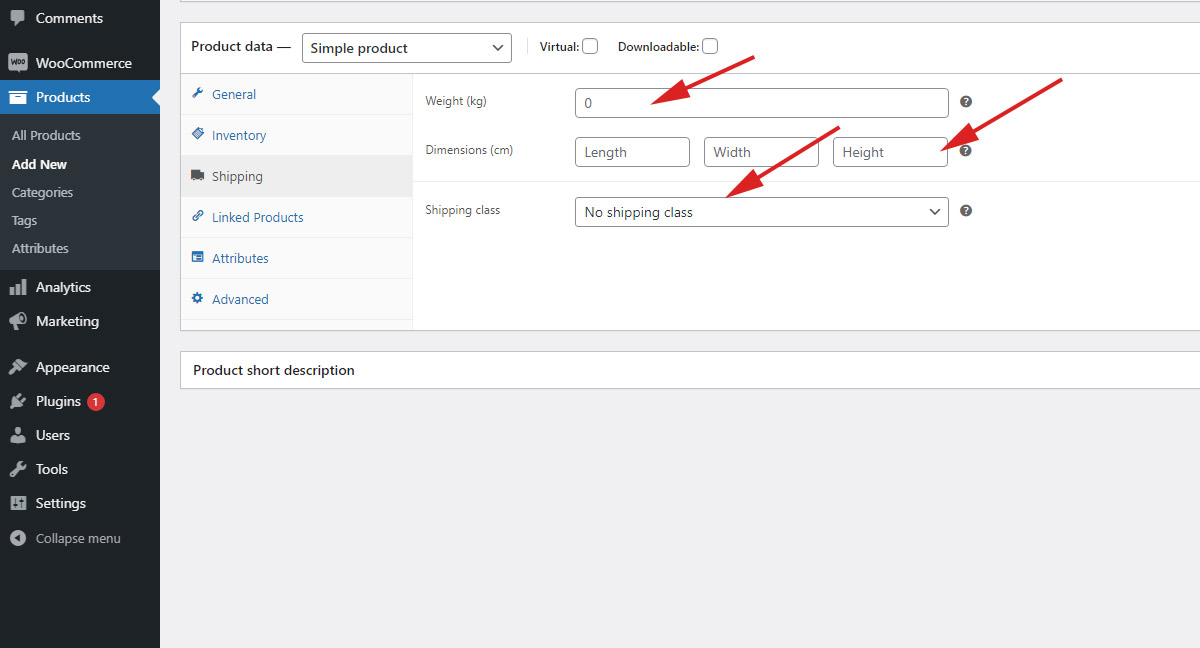
- Shipping If your product has special shipping requirements you may choose a suitable shipping class which has already been configured for it elsewhere. Note this normally only applies to specific products.
- Linked products On this tab you can choose to show related products below the item and in other areas of the website. This is done by typing the title of the other products into the fields and choosing the correct one from the live results which appear.

Adding a simple WooCommerce product Linked products Tab
Once this is complete your product is ready to go live! But not until you click the Publish button on the top right of the page.
Next we add a Variable product to a WooCommerce store.
More info here on adding simple products should you need it.